Stronger Documentation: An Insurance Restoration Workflow That Supports Supplements
- The Organized Contractor Co.

- Jan 26
- 6 min read
You just finished a $28,000 restoration job. Your crew did everything right. The homeowner is thrilled. Then, two weeks later, the supplement gets denied because your documentation was "insufficient."
Sound familiar?
Here's the reality: insurance carriers operate on proof. They need documentation that establishes damage occurred, that it was caused by a covered peril, that it happened during the policy period, and that claimed losses are accurate. If your team can't provide that chain of evidence, you're leaving money on the table: and creating headaches for everyone involved.
This post breaks down a repeatable insurance restoration workflow that supports your supplements with rock-solid contractor documentation. Whether you're the owner setting standards or the ops manager running the process, you'll walk away with a system that actually works.
Important Disclaimer: We're not public adjusters or attorneys. Coverage and supplement approval are determined by the carrier and policy; this is about construction documentation and process. Always consult appropriate professionals for legal or insurance-specific advice.
Why Documentation Makes or Breaks Your Supplements
Let's get one thing straight: supplements aren't about "getting more money" from insurance companies. They're about accurately capturing the full scope of work required to restore a property to its pre-loss condition.
The problem? Most contractors treat documentation as an afterthought. They snap a few photos, scribble some notes, and hope for the best. Then they're shocked when the adjuster pushes back.
Strong documentation does three things:
Establishes the chain of evidence : showing what damage existed, when it was discovered, and how it progressed
Supports code and material requirements : proving why specific materials or methods are necessary
Protects your business : creating a paper trail if disputes arise later
When your roofing business systems include airtight documentation protocols, you're not just supporting supplements. You're building a reputation as a professional operation that carriers and homeowners can trust.

The 5-Phase Documentation Workflow
Here's the insurance restoration workflow we recommend to our consulting clients. It's designed so owners can set the standard and ops managers can execute it consistently across every job.
Phase 1: Initial Inspection Documentation
This is where most contractors drop the ball. Your first site visit sets the foundation for everything that follows.
What to capture:
Wide-angle "orientation" photos : showing the entire structure from multiple angles
Close-up damage photos : with a reference object (chalk, coin, tape measure) for scale
Drone footage (if available) : capturing roof damage from above
Written notes : describing damage location, type, and suspected cause
Date and time stamps : on every photo and document
OPS NOTE: Create a standardized inspection checklist in your CRM. Before any tech leaves the property, they should confirm every item is captured. No exceptions.
OWNER NOTE: Invest in basic equipment standards: a quality camera (or phone), a drone for roof inspections, and a tablet for real-time uploads. This isn't optional anymore.
Phase 2: Pre-Existing Condition Documentation
This step is often skipped, but it's critical for protecting your scope.
Before any work begins, document:
Areas adjacent to damage : showing what was NOT affected
Pre-existing wear or damage : so you're not blamed for it later
Material conditions : age, type, and current state of existing materials
This creates a clear "before" baseline that supports your "after" documentation.
OPS NOTE: Train your team to narrate what they're photographing. A 30-second voice memo explaining "this is the north-facing section showing pre-existing granule loss unrelated to the claim" is gold when disputes arise.

Phase 3: Mitigation and Progress Documentation
Once emergency mitigation begins (tarping, water extraction, board-up), your documentation clock is ticking.
Capture the following:
Mitigation actions taken : with photos showing before, during, and after
Materials used : type, quantity, and placement
Timeline records : when mitigation started, duration, and completion
Any secondary damage discovered : as you expose hidden areas
This phase establishes the progression of your restoration efforts, which carriers need to see when evaluating supplement requests.
OPS NOTE: Use a simple "mitigation log" template that field crews complete on-site. Date, time, action taken, photos attached. Upload to your CRM the same day.
OWNER NOTE: Set a company standard that no mitigation job closes without complete progress documentation. Make this a non-negotiable quality gate.
Phase 4: Scope and Supplement Support Documentation
This is where your documentation directly supports supplement requests. You're not arguing with the adjuster: you're providing construction documentation that explains why specific work is necessary.
Insurance Gate: Flexible verification (Option B)
In a clean insurance workflow, you still need a verification “gate” (so the office isn’t chasing checks or starting production blind). But verification doesn’t have to happen at only one point.
Policy default (example): Insurance Gate: Flexible verification (Option B) means you verify the key payment/claim info at the point it becomes necessary for the next commitment.
What you’re verifying (operationally):
Named insured + property match (so you’re working with the right party)
Claim status and adjuster/carrier contact (who to communicate with)
Scope alignment (carrier estimate vs. contractor scope) and whether a supplement is likely
Funds status (e.g., initial/ACV funds issued, mortgage endorsement needs, depreciation steps) when applicable
Where it can happen (choose based on trigger):
At contract signing if the homeowner can’t clearly explain claim status or you anticipate heavy supplement activity
After the adjuster meeting / carrier estimate arrives if your scope depends on their line items
At production scheduling if you’re about to order materials or commit a crew/subs
At invoicing/closeout if depreciation or recoverables require specific documentation to release
Triggers that force verification now (don’t wait):
Missing/unclear claim info, multiple parties on the claim, or a mortgage company involved
Material orders or subcontractor deposits are about to be placed
The carrier scope is materially different than your findings
The homeowner asks, “Can we start before the check?” or “Do I have to pay the deductible?”
OPS NOTE: Put “Insurance Gate: Flexible verification (Option B)” as a required checkbox stage in your CRM. Attach a short verification form and require a note for where verification occurred (signing vs. scheduling vs. invoice) and why.
Key elements to document:
Code requirements : local building codes that mandate specific materials or methods
Manufacturer specifications : installation requirements that affect scope
Material matching : when existing materials are discontinued or unavailable
Hidden damage : discovered during tear-off or demo, with clear before/after photos
Measurements and quantities : precise figures that support your line items
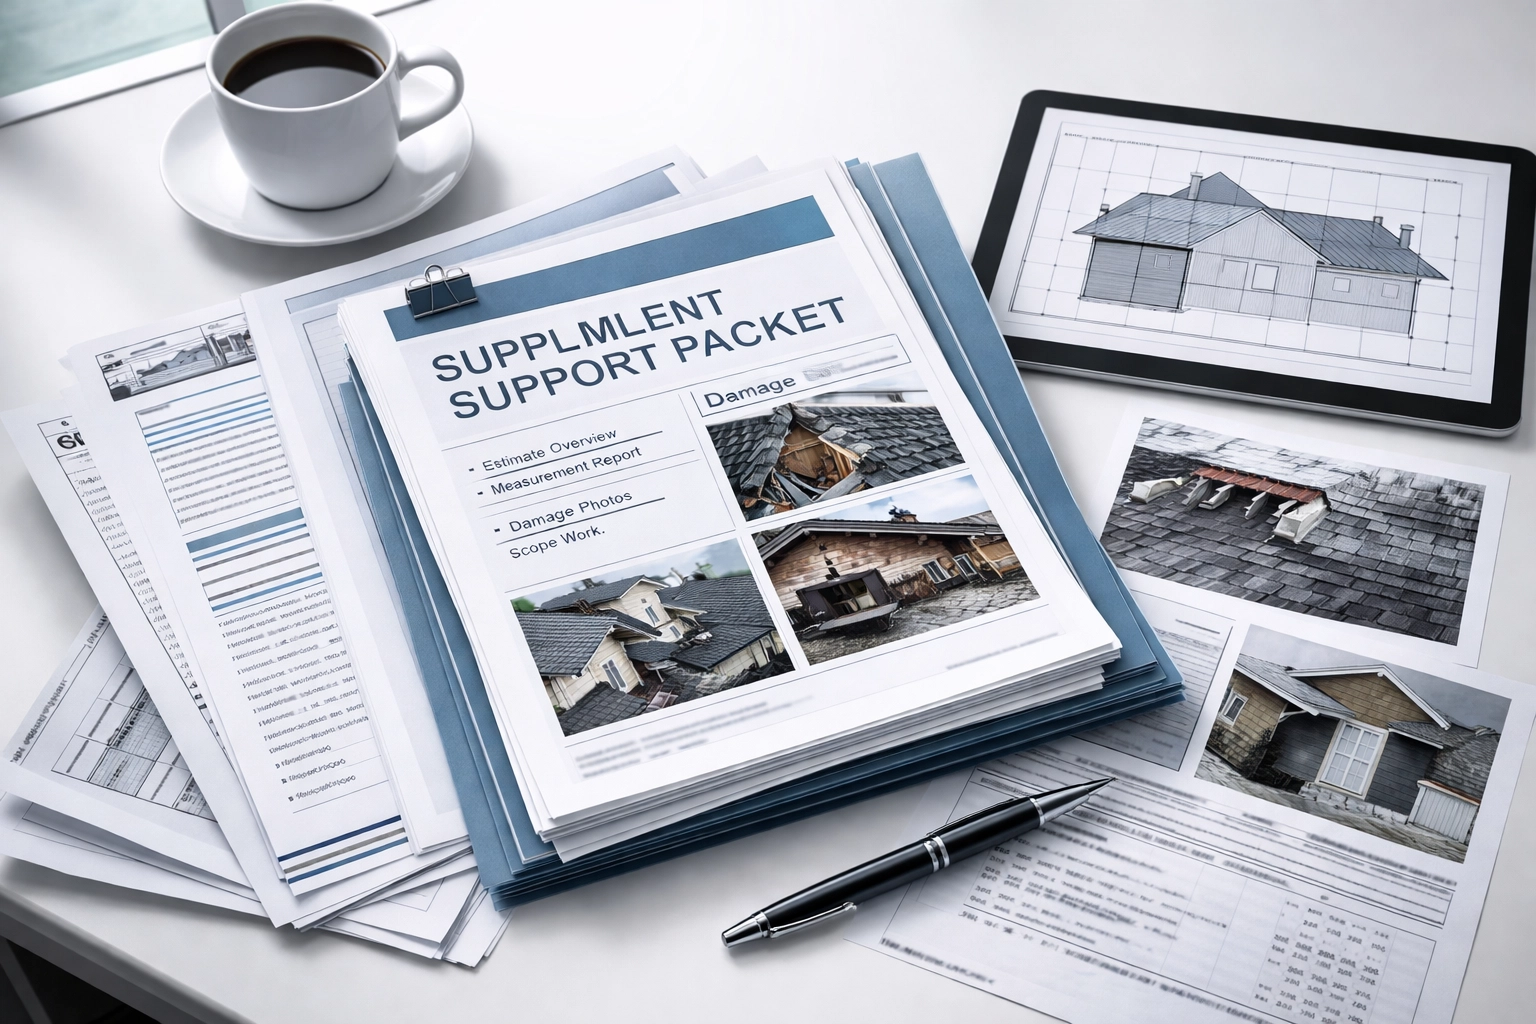
OPS NOTE: Create a "supplement support packet" template that organizes all relevant documentation in one place. Include code references, spec sheets, and photo evidence grouped by line item.
OWNER NOTE: Build relationships with your material suppliers. They can often provide specification documents and manufacturer letters that support code-upgrade supplements.
Phase 5: Completion and Closeout Documentation
Your final documentation proves the property was restored to its pre-loss condition: and protects you long after the check clears.
What to capture:
Completion photos : matching your "before" angles for direct comparison
Material receipts and invoices : proving what was installed
Warranty documentation : for materials and workmanship
Final walkthrough sign-off : from the homeowner
All correspondence : with the carrier, adjuster, and homeowner
OPS NOTE: Before closing any job in your CRM, run through a "closeout checklist" that confirms all five phases are documented and uploaded. No exceptions.
Building Your Documentation System
Having a workflow is one thing. Actually implementing it across your team is another.
Here's how to make this stick:
Standardize Your Process
Develop a standardized claims documentation process that every team member follows. This means:
A clear payment terms policy for insurance jobs (written, trained, and consistent)
Company policy example (insurance jobs): Collect 40% deposit OR the deductible (whichever is greater) at contract signing (or before production scheduling), then follow your normal progress billing for the remaining balance (for example, a 40/60 split). This is a process example—not a guarantee of what the carrier will pay—and it does not waive or absorb the deductible.
Consistency is everything. When every job follows the same process, nothing falls through the cracks.
Centralize Your Storage
All documentation should live in one place: your CRM or project management system. No more photos scattered across personal phones, notes stuffed in truck consoles, or emails buried in inboxes.
If you need help building these roofing business systems, review your internal ops playbook and make sure your documentation standards, checklists, and upload rules are written and trained across the team.
Train and Reinforce
Your documentation is only as good as the people creating it. Schedule quarterly training refreshers, review documentation quality during team meetings, and celebrate wins when strong documentation saves a supplement.
OWNER NOTE: Consider tying documentation quality to performance metrics. What gets measured gets managed.
OWNER NOTE: Upgrades can be financed. If a homeowner wants better shingles, additional ventilation, gutters, or other scope beyond what insurance may recognize, make financing an option in your sales process so the decision doesn’t stall production (and so your team doesn’t “hide” upgrades inside insurance language).
The Bottom Line
Stronger documentation isn't about gaming the system or guaranteeing outcomes. It's about running a professional insurance restoration operation that accurately captures scope, supports legitimate supplement requests, and protects your business.
When your team follows a consistent workflow: from initial inspection through closeout: you'll spend less time chasing paperwork, less time arguing with adjusters, and more time doing what you do best: restoring properties.
Ready to build systems that actually scale? Document the workflow above, train it, and audit it weekly until it’s automatic.
Have questions about implementing this workflow in your business? Share it with your ops lead, turn the phases into CRM stages, and run a quick audit on your last 5 claims to spot where documentation is breaking down.